
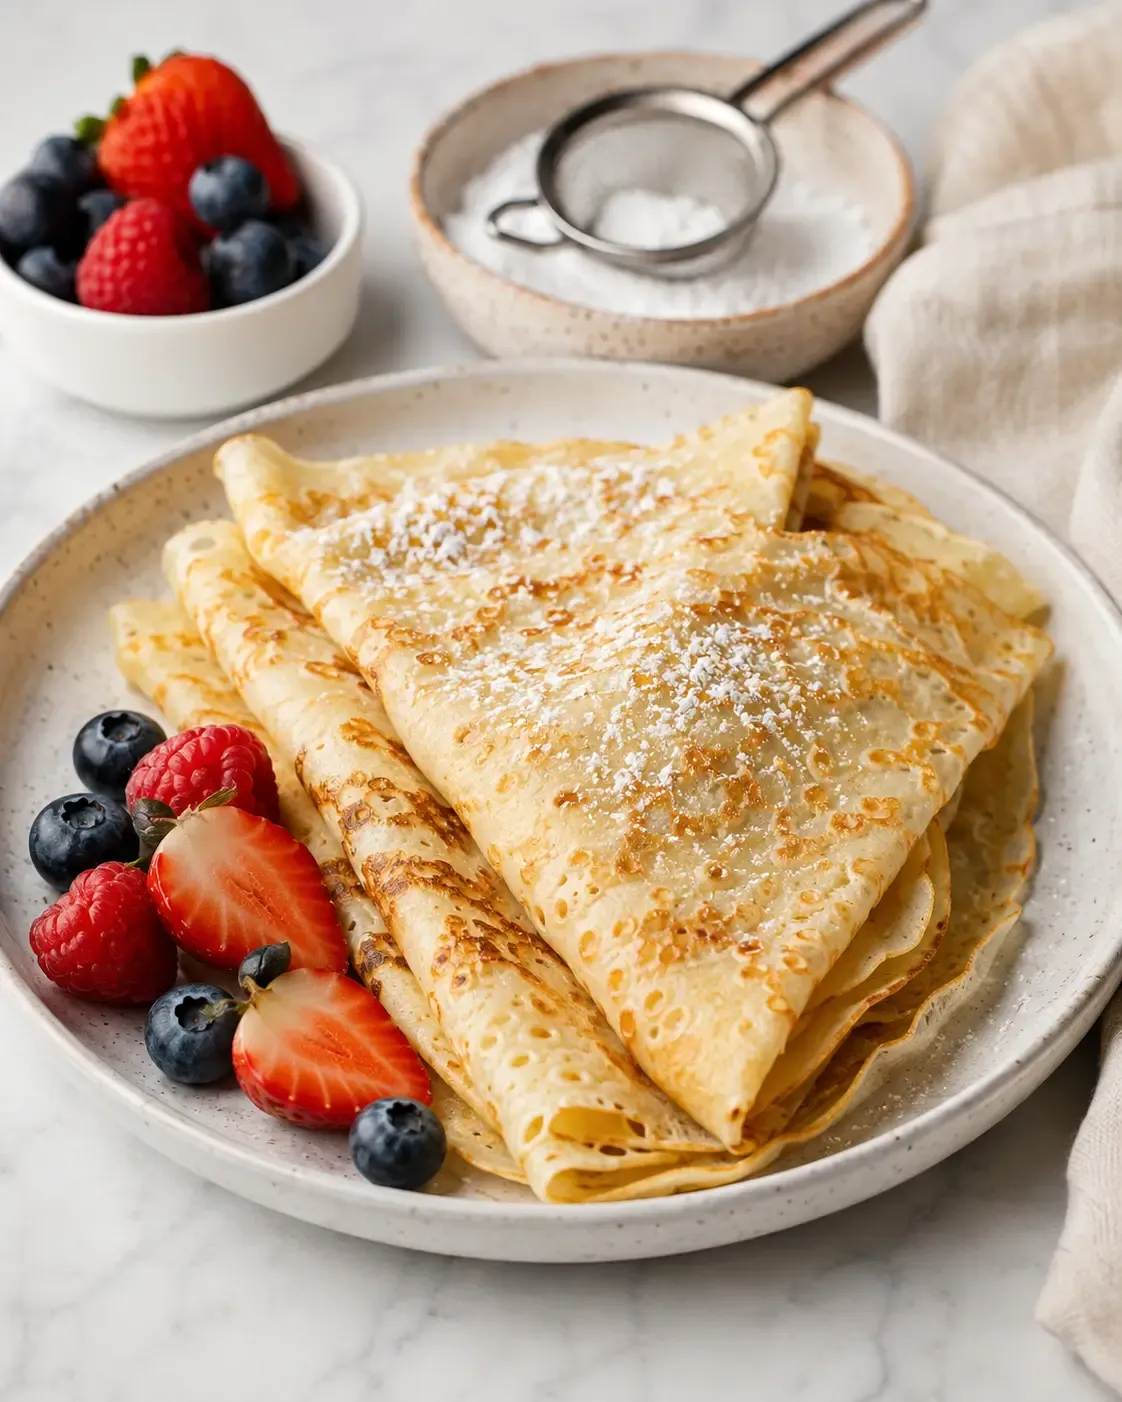
Crepe Recipe
Thin, tender classic crepes with lightly golden edges and a simple buttery batter that works for folding, rolling or filling.
Contains: Milk · Egg · Wheat
This recipe contains milk, egg and wheat. Check packaged ingredient labels if you need to manage additional allergens or cross-contact.
WHY IT WORKS
Why This Recipe Works
01
Thin, Flexible Batter
Milk and water create a fluid batter that spreads quickly into a thin, even layer without making the crepes fragile.
02
Rest the Batter
A short 15-minute rest lets the flour hydrate and the bubbles settle, helping the crepes cook tender and evenly.
03
Use Steady Medium Heat
A properly heated skillet gives the crepes light golden spotting while keeping them soft enough to fold or roll.
WHAT YOU’LL NEED
Equipment
THE RECIPE
Ingredients & Method
Use these cooking tools without leaving the recipe. Change the servings, switch measurements, keep a private note in this browser, and use any timer buttons shown below the method steps.
Ingredient quantities have been scaled. Cooking time, oven temperature, pan size and method timings are unchanged.
My Notes
Ingredients
-
-
-
-
-
Tools
-
-
Tools
-
Tools
Method
Tap a step number as you finish it.
Timed steps show a timer button beneath the instruction.
-
In a large mixing bowl, whisk together the flour, sugar and salt.
-
In a separate bowl or large measuring cup, whisk the eggs, milk, water and 2 tablespoons (tbsp) melted butter until combined. Gradually whisk the wet mixture into the flour mixture until smooth. Let the batter rest for 15 minutes.
-
Heat a 10-inch nonstick skillet over medium heat. Lightly brush the surface with some of the remaining butter.
-
Pour about 1/4 US cup batter into the center of the skillet. Immediately lift and tilt the pan in a circular motion so the batter spreads into a thin, even layer. Cook for about 45 to 60 seconds, until the surface loses its wet shine and the edges begin to lift.
-
Slide a flexible spatula under the crepe, flip it and cook the second side for about 20 to 30 seconds, until lightly golden in spots. Transfer to a plate.
-
Repeat with the remaining batter, lightly buttering the skillet as needed and stacking the cooked crepes on the plate. Serve warm, folded or rolled as desired.
COOKING GUIDANCE
Practical Cooking Notes
Make Ahead
The batter can be covered and refrigerated for up to 24 hours. Whisk it again before cooking and add 1 to 2 tablespoons (tbsp) of water if it has thickened enough that it no longer swirls easily around the skillet.
Recipe tools
Adapt This Recipe
Change the quantities, measurements, pan, cooking method or ingredients, then turn what you need into a shopping list.
Dietary options
Make This Recipe Work for You
Only straightforward swaps are offered automatically. If changing a defining ingredient would effectively create a different dish, that conversion is left out.
Make It Dairy-Free
Change the following ingredients:
Replace1 1/4 US cups whole milk
With1 1/4 US cups unsweetened neutral plant milk
Replace300 millilitres (ml) whole milk
With300 millilitres (ml) unsweetened neutral plant milk
Use the same quantity of an unsweetened neutral plant milk; flavor, protein and browning can differ.
Replace2 tablespoons (tbsp) unsalted butter, melted and cooled slightly
With2 tablespoons (tbsp) unsalted plant-based butter, melted and cooled slightly
Replace28 grams (g) unsalted butter, melted and cooled slightly
With28 grams (g) unsalted plant-based butter, melted and cooled slightly
Use the same quantity of a plant-based butter suited to cooking or baking as required.
Replace1 tablespoon (tbsp) unsalted butter, for the skillet
With1 tablespoon (tbsp) unsalted plant-based butter, for the skillet
Replace14 grams (g) unsalted butter, for the frying pan
With14 grams (g) unsalted plant-based butter, for the frying pan
Use the same quantity of a plant-based butter suited to cooking or baking as required.
For allergies, intolerances or strict dietary requirements, check the labels of the specific products you use. These swaps do not certify a recipe or ingredient as allergen-free.
Recipe Notes
Ingredient Notes
The batter should be smooth and easily pourable, similar to light cream. If it thickens noticeably while resting, whisk in 1 to 2 tablespoons (tbsp) of water before cooking the first crepe.
Useful Substitutions
2% milk can replace whole milk with a slightly leaner result. A neutral cooking oil can replace the butter in the batter and pan, although the crepes will have less buttery flavor.
INGREDIENT QUALITY
Quality Note
Use the first crepe as a test for heat and batter quantity. A lightly greased, properly heated nonstick skillet should produce flexible crepes with pale golden-brown spotting rather than crisp, dark edges.
SPEND LESS
Cost-Saving Tip
A regular nonstick skillet works well, so there is no need to buy a dedicated crepe pan. Use an inexpensive all-purpose flour and standard milk for the base recipe.
COOKING TIPS
Tips
Rest the Batter
Give the batter the full 15-minute rest. This lets the flour absorb the liquid and helps the crepes cook with a more even, tender texture.
Tilt the Pan Right Away
As soon as the batter hits the skillet, lift and tilt the pan in a circle so the batter reaches the edges before it begins to set.
Adjust After the First Crepe
Use the first crepe to judge the heat. If it browns before the top loses its wet shine, lower the heat slightly; if it stays pale, raise it a little.
Stack to Keep Them Soft
Stack the cooked crepes on a plate as you work. Their gentle trapped warmth helps keep the edges flexible instead of crisp.
MAKE IT LAST
Storing, Freezing & Reheating
Storing
Let the crepes cool, then stack them in an airtight container or wrap them well. Refrigerate for up to 3 days.
Freezing
Layer cooled crepes with small sheets of parchment paper, wrap the stack well and freeze for up to 2 months. Thaw overnight in the refrigerator.
Reheat in a Skillet
Warm individual crepes in a dry nonstick skillet over medium-low heat for about 20 to 30 seconds per side, just until flexible and warm.
Reheat in the Microwave
Place a small stack on a microwave-safe plate, cover with a barely damp paper towel and heat in short bursts until warm.
ESTIMATED PER SERVING
Nutrition
1 crepe
Nutrition information is an estimate. Where shown, % Daily Value uses standard US Daily Values for adults and children aged 4+; actual values vary with ingredient brands, exact quantities and portion size.
QUESTIONS
Crepe Recipe FAQs
Why does the crepe batter need to rest?
Resting gives the flour time to absorb the liquid and allows many of the whisked-in bubbles to dissipate. Fifteen minutes is enough to make this everyday batter easier to cook smoothly.
Why is the first crepe sometimes different?
The first crepe often acts as a test for pan temperature and the amount of butter on the surface. Adjust the heat after that first one and the remaining crepes should cook more consistently.
Do I need a special crepe pan?
No. A 10-inch nonstick skillet with a low enough rim to slide a spatula underneath works well for homemade crepes.
How thin should crepe batter be?
It should pour easily and spread across the skillet as soon as you tilt the pan. If the rested batter seems too thick to swirl quickly, whisk in 1 to 2 tablespoons (tbsp) of water.
Can I make the crepe batter ahead of time?
Yes. Cover the batter and refrigerate it for up to 24 hours. Whisk it again before cooking because the flour may settle and the batter can thicken slightly while chilled.

Looking for Something Else to Cook?
Browse more SinOrSlim recipes or use the recipe tools to adapt what you already have.