
Sourdough Bread Recipe
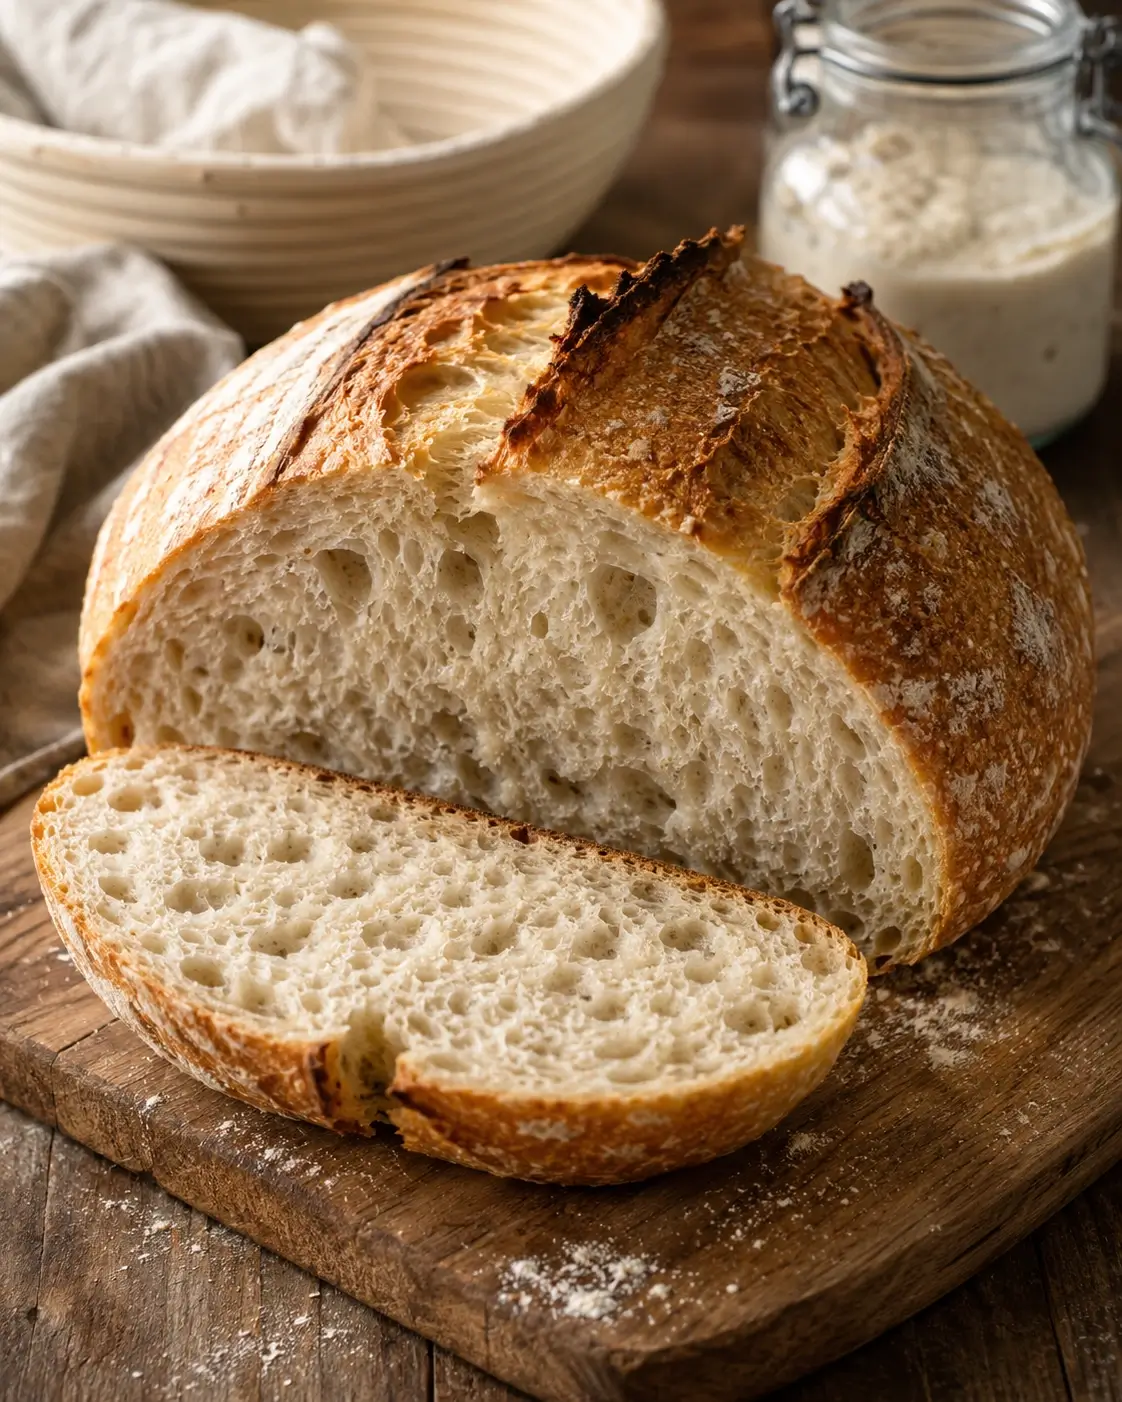
Homemade sourdough bread with a crisp, deeply browned crust and a chewy, airy crumb, made from active starter, bread flour, water and salt.
Contains: Wheat
Contains wheat. Standard wheat sourdough bread is not gluten-free; fermentation does not make it suitable for people who need to avoid gluten.
WHY IT WORKS
Why This Recipe Works
01
Build Strength Gently
A short rest followed by spaced stretch-and-folds strengthens the dough without intensive kneading and helps it hold fermentation gases.
02
Watch the Fermentation
Bulk fermentation is guided by rise, aeration and dough movement rather than a rigid timetable, which makes the method more reliable across different kitchens.
03
Bake Covered First
A thoroughly preheated covered Dutch oven traps steam around the loaf early in baking, supporting oven spring before the crust sets and browns.
WHAT YOU’LL NEED
Equipment
THE RECIPE
Ingredients & Method
Use these cooking tools without leaving the recipe. Change the servings, switch measurements, keep a private note in this browser, and use any timer buttons shown below the method steps.
Ingredient quantities have been scaled. Cooking time, oven temperature, pan size and method timings are unchanged.
My Notes
Ingredients
Method
Tap a step number as you finish it.
Timed steps show a timer button beneath the instruction.
-
In a large mixing bowl, stir the active sourdough starter into the lukewarm water until mostly dispersed. Add the bread flour and mix until no dry flour remains. Cover and rest for 30 minutes.
-
Sprinkle the salt over the dough. With damp hands, pinch and fold the dough until the salt is evenly incorporated. Cover and rest for 30 minutes.
-
Give the dough four sets of stretch-and-folds, spaced about 30 minutes apart. For each set, lift one side of the dough, stretch it gently upward and fold it over itself; rotate the bowl and repeat on all four sides. Cover the bowl between sets.
-
After the final fold, leave the dough covered at room temperature for about 2 to 4 hours, until it looks aerated, has risen roughly 50% to 75% and jiggles slightly when the bowl is moved. Fermentation speed depends strongly on room and dough temperature, so judge the dough rather than waiting for an exact clock time.
-
Turn the dough onto a lightly floured work surface. Shape it gently into a loose round, cover and let it rest for 20 minutes.
-
Lightly flour a 9-inch round proofing basket or a clean towel-lined bowl. Shape the dough into a taut round without tearing the surface, then place it seam-side up in the prepared basket.
-
Cover and proof at room temperature for about 1 to 2 hours, until the dough looks slightly puffy and a gently pressed indentation springs back slowly rather than immediately. During the final 45 minutes, place the Dutch oven and lid in the oven and heat to 450°F.
-
Cut a sheet of parchment paper slightly larger than the loaf. Turn the dough onto it, brush away excess flour if needed and score the top about 1/2 inch deep with a bread lame or sharp knife.
-
Carefully lower the dough and parchment into the hot Dutch oven. Cover and bake at 450°F for 25 minutes.
-
Remove the lid and continue baking at 450°F for 20 to 25 minutes, until the crust is deeply golden brown and the loaf is fully baked.
-
Transfer the loaf to a wire rack and cool for at least 2 hours before slicing so the crumb can finish setting.
COOKING GUIDANCE
Practical Cooking Notes
Doneness
208°F / 98°C
The loaf should be deeply browned and feel light for its size. An internal temperature around 205°F to 210°F is a useful guide, but crust color and a well-set loaf are equally important.
Recipe tools
Adapt This Recipe
Change the quantities, measurements, pan, cooking method or ingredients, then turn what you need into a shopping list.
Dietary options
Make This Recipe Work for You
Only straightforward swaps are offered automatically. If changing a defining ingredient would effectively create a different dish, that conversion is left out.
For allergies, intolerances or strict dietary requirements, check the labels of the specific products you use. These swaps do not certify a recipe or ingredient as allergen-free.
Recipe Notes
Ingredient Notes
Use an active wheat sourdough starter that is bubbly and has risen strongly after feeding. Bread flour gives the dough enough strength to hold gas during fermentation; weighing the main ingredients is the most consistent way to control hydration.
Useful Substitutions
All-purpose flour can replace bread flour, but the dough may feel softer and spread more. If using it, hold back a small splash of the water at first and add it only if the dough feels able to take it. Fine kosher salt can replace fine sea salt most reliably by weight.
INGREDIENT QUALITY
Quality Note
Use a lively starter that has risen strongly after feeding and is near its peak when you mix the dough. Weighing the flour, water, starter and salt gives much more consistent dough hydration than relying on cup measures alone.
SPEND LESS
Cost-Saving Tip
Keep a small sourdough starter between bakes and build only the amount you need before baking. This reduces the flour discarded during routine feedings while keeping the same homemade sourdough method.
COOKING TIPS
Tips
Use an Active Starter
Mix the dough when the starter is bubbly and near its peak after feeding. A sluggish starter can make the rise take much longer and produce a denser loaf.
Watch the Fermentation
Wet or lightly damp hands make stretch-and-folds easier and reduce sticking without adding extra flour that can make the dough unnecessarily stiff.
Watch the Dough, Not Just the Clock
Room temperature and starter strength can shift fermentation by hours. Move on when the dough is visibly aerated and expanded rather than because a fixed number of hours has passed.
Cool Before Slicing
Cutting sourdough while it is still hot can compress the crumb and make it seem gummy. Give the loaf at least 2 hours on a wire rack before slicing.
MAKE IT LAST
Storing, Freezing & Reheating
Storing
Let the loaf cool completely, then keep it at room temperature in a bread bag, paper bag or loosely wrapped cloth for about 2 to 3 days. Store a cut loaf with the cut side protected to slow moisture loss.
Freezing
Slice the fully cooled loaf, wrap the slices well and freeze them in an airtight bag or container for up to about 3 months. Freezing slices makes it easy to take out only what you need.
Refresh in the Oven
To refresh part of a loaf, lightly dampen the crust and warm it in a 350°F oven for about 8 to 12 minutes. Let it stand briefly before slicing.
Toast from Frozen
Frozen slices can go straight into a toaster or toaster oven. Toast until the center is warmed and the surface is crisp.
ESTIMATED PER SERVING
Nutrition
1 of 12 slices
Nutrition information is an estimate. Where shown, % Daily Value uses standard US Daily Values for adults and children aged 4+; actual values vary with ingredient brands, exact quantities and portion size.
QUESTIONS
Sourdough Bread FAQs
How do I know when my sourdough starter is ready to bake with?
Use it when it is visibly bubbly, has risen strongly after feeding and is near its peak rather than already collapsed. A predictable rise after feeding is more useful than relying on a float test alone.
Why is my sourdough dough taking longer to rise?
Fermentation slows in a cool kitchen and with a less active starter. Give the dough more time and look for visible expansion, bubbles and a slightly jiggly texture instead of forcing the next step at a fixed hour.
Can I make this sourdough bread without a proofing basket?
Yes. Line a similarly sized bowl with a clean kitchen towel, flour it well and use it in the same way. The container should support the shaped dough without being so large that it spreads flat.
Can I bake sourdough without a Dutch oven?
A heavy oven-safe pot or casserole with a well-fitting lid can work similarly if it comfortably holds the loaf and is safe at 450°F. An open-bake method needs a different steam setup and is better treated as a separate technique.
Why should sourdough cool before slicing?
The crumb continues to set as the loaf cools. Slicing while it is very hot releases moisture quickly and can compress the interior, making a properly baked loaf seem gummy.

Looking for Something Else to Cook?
Browse more SinOrSlim recipes or use the recipe tools to adapt what you already have.